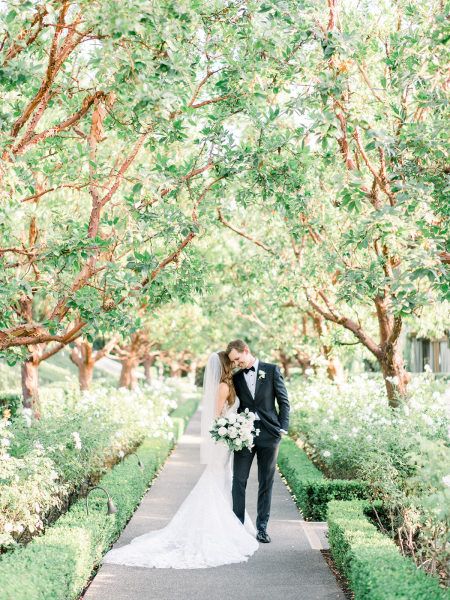
As any married couple will tell you, your wedding day is going to feel like an absolute whirlwind! From getting ready with your bride tribe to exchanging vows, mingling with guests and dancing the night away, your celebration will (sadly!) fly by quicker than you think.
With this in mind, we think a wedding day timeline is an essential tool to help you manage the finer details of your day and keep your celebration running smoothly.
Not sure where to begin with your wedding timeline? Don’t stress – we’re taking you through the process step-by-step below!
Why Create a Wedding Day Timeline?
A wedding day timeline (otherwise known as a run-sheet or day-of timeline) is essentially a reference point for everyone involved in the running of your day. Creating a wedding day timeline will give both you, your suppliers and your loved ones a clear idea on how the day is going to run from start to finish – allowing you to step back and truly enjoy every moment, without worrying about the finer details!
Your wedding day timeline can also help to save time and stress throughout the planning process, too. The concept of your wedding day might seem overwhelming and intimidating at first, but breaking up your day into smaller, more manageable chunks of time will help you understand exactly how things will flow.
If you’re currently planning your upcoming nuptials, keep reading for our ultimate guide to creating a practical wedding timeline, and some things to look out for along the way!
1. Pencil in your key times first
The best place to start when it comes to mapping out your wedding timeline is with the confirmed details of your day. Begin your timeline by jotting down any non-negotiable elements you’ve already locked in, such as your ceremony start time, ceremony finish time, reception start time, and reception finish time. This might also include things like what time your venue is available to begin set-up, and when everything needs to be packed down by the end of the night. Pencilling in your key elements first should give you an overall framework for the rest of your wedding day flow.
2. Work backwards and forwards to fill in the blanks
Once you’ve mapped out the key elements of your day, use this as a guideline and start working backwards and forwards to fill out the blank gaps in-between. You’ll want to think about all of the different activities taking place throughout the day, and slot them in accordingly.
Working backwards and forwards from your key times is the easiest way to figure out what needs to happen and when. For example: from your ceremony start time, work backwards to figure out what time you’ll need to leave your accommodation. From there, work out the time you’ll need to get your pre-wedding photos taken. You can then work out what time you’ll need to get your hair and makeup done, and from there, what time you’ll need to wake up and eat breakfast. You get the picture!
The same rule applies when working forwards. For example: from your reception start time, work forwards to establish when dinner will be served, when speeches will begin, and when your first dance will take place. Remember, you can always go back to adjust and refine these timeframes as your wedding plans fall into place, but mapping out a rough timeline like this is a great starting point.
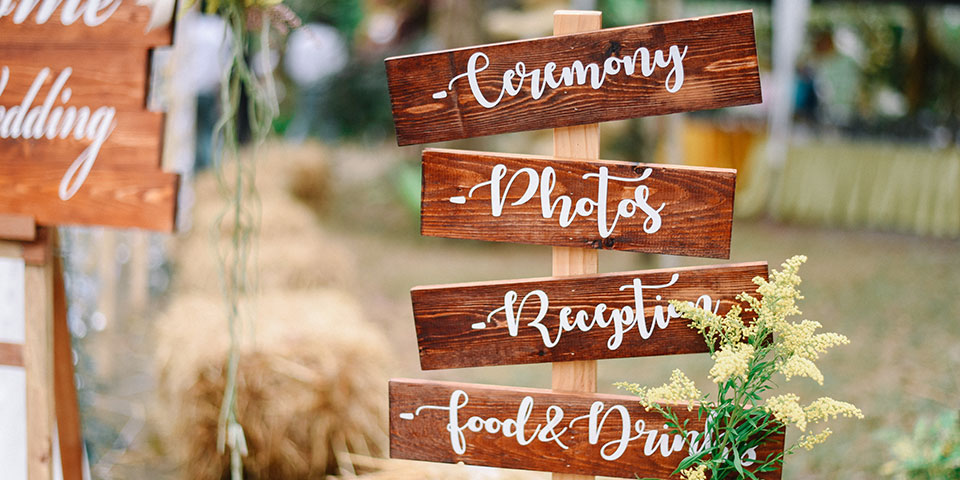
So what kind of details are usually involved in your wedding schedule? Each and every wedding is totally unique, but your wedding “flow” might look something like this:
- Waking up and eating breakfast
- Wedding party arriving
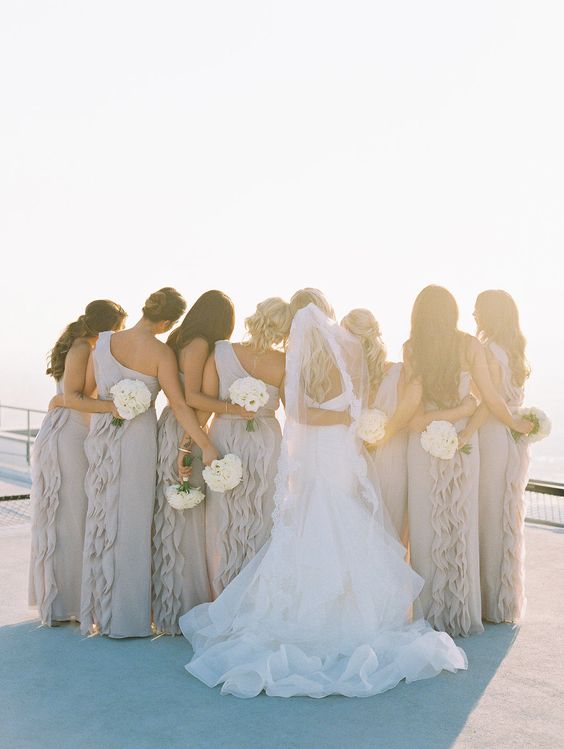
- Wedding party hair and makeup, getting dressed
- Bride hair and makeup, getting dressed
- Groom and groomsmen preparation
- Pre-wedding photos at accommodation and/or first look
- Ceremony transport
- Ceremony proceedings
- Post-ceremony photos
- Cocktail hour (including food and beverage service)
- Reception entrance (guests)
- Reception entrance (wedding party)
- Dinner service
- Speeches
- First dance
- Family dances
- Dance floor opens
- Cake cutting
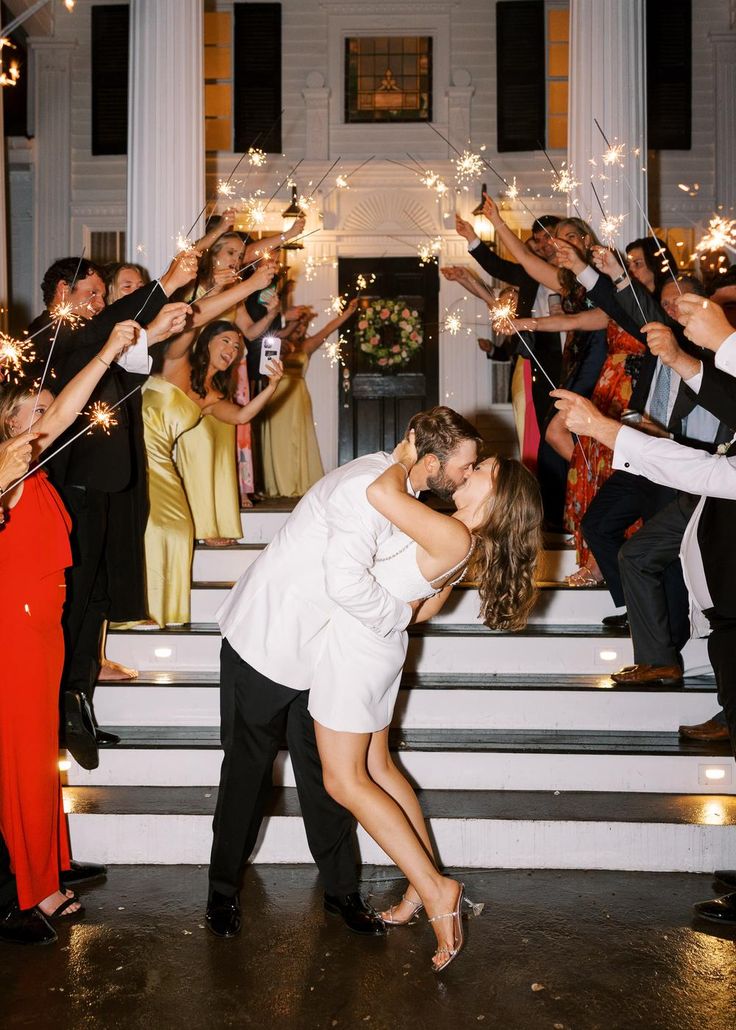
- Reception exit
Go through now and flesh out your wedding day timeline with all of the activities happening during the day, from the moment you wake up in the morning, right through to leaving your venue at the end of the night.
3. Slot in your wedding suppliers
Don’t forget, your wedding day timeline will become a reference point for all of your wedding suppliers, too. Along with the running of the day itself, your timeline can also include the relevant schedules for each wedding supplier. Depending on your suppliers, this could include details like: when are they arriving to set-up? How long will they be spending on-site? What time will they be packing down, and when will they be bumping out?
Try not to make assumptions about how long things should take – it’s best to go straight to the source and ask your suppliers directly! For example, check in with your hair and makeup artist to figure out how much time you should allocate towards getting everyone prepped, or touch base with your DJ to see how much time they’ll need to set-up. Remember, your wedding suppliers have done this many times before, and they’ll be able to give you helpful estimates based on your ceremony and reception times and guest numbers.
4. Annotate and add details
Once you’ve slotted in your wedding day flow and added each of your wedding suppliers to your timeline, it’s time to start annotating! Add notes throughout the different sections of your timeline to clarify exactly who’s involved and what’s happening.
Think about the who, what, where and when for each section of your timeline. For example: what does each supplier need to bring? Where do they need to be? What are they responsible for?
Make sure you also include contact details for each supplier, too, in case they need to be easily reached on the day. The more detail you can include, the smoother things will run (and the fewer questions people will have!). Imagine handing over your timeline to a complete stranger – it should clearly outline everything they would need to know to ensure your day runs seamlessly.
5. Distribute your timeline
Once your wedding day timeline is complete, it’s time to distribute this to all of the key people involved in your day! Make sure you send out a copy of your wedding timeline to each supplier (including your venue), along with your bridal party members and any other close loved ones assisting on the day.
Distributing a master timeline will give everyone a reference point as to what’s happening and how the day will flow. It’s important to ensure everyone has a copy of the same timeline, so make sure you update your suppliers with any last-minute changes to avoid any confusion.
Example Wedding Timeline with a 5:30 P.M. Start Time
The typical wedding ceremony last 30 to 60 minutes, but if you’re having a secular ceremony, it could be as short as 15 minutes. If you’re having a religious ceremony it can be much longer and sometimes take over 2 hours. Speaking to your celebrant is your best bet to figure out how much time you will need.
Wedding receptions usually last 4 to 5 hours, but of course this will vary depending on your venue’s packages and any restrictions they might have so make sure to find out early on.
To give you a better idea of how your wedding day might run, you can use the following timeline as a guide for creating your own wedding day runsheet! We’re going to assume that your wedding ceremony and venue locations are within the same vicinity so no time is lost between locations.
10:30 a.m. Start getting ready / Hair & makeup artists arrive
12:00 – 2:00 p.m. Photographer, videographer, and other vendors arrive
2:00 p.m. Bride hair & makeup
2:30 p.m. Bride begins getting dressed
2:45 p.m. Bridal portraits
3:00 p.m. Bridal photos with Bridesmaids
3:30 p.m. First look with Bride & Groom
3:30 – 4:10 p.m. Bride & Grooms photos
4:10 – 5:00 p.m. Wedding party photos & family photos
5:30 p.m. Ceremony starts
5:50 p.m. Ceremony ends
5:50 – 6:00 p.m. Family and group photos
6:00 – 7:00 p.m. Cocktail hour, move guests into reception room by 6:55 p.m.
7:00 p.m. Grand entrance / Reception starts
7:10 p.m. Dinner begins
9:00 p.m. Speeches & toasts
9:25 p.m. Cake cutting
9:30 p.m. First dance, followed by parent dances
9:45 p.m. Open up dance floor to guests
11:30 p.m. Reception ends
Wedding Timeline Tips
Want to make the most out of your wedding day timeline? Don’t forget to keep these practical tips in mind:
- Aim to complete and distribute your timeline at least 2-3 weeks prior to your day. This will give you enough time to make any necessary amendments after receiving feedback from suppliers.
- Make sure you include some buffers throughout your timeline “just in case”. For example: add a buffer to your ceremony transport time in case of traffic, or to your speeches in case your speakers ramble on! The last thing you want to be feeling on your wedding day is rushed or stressed, so be sure to give yourself a little flexibility where needed.
- If you’re not working with a wedding planner, make sure you’ve clearly allocated an emergency on-the-day contact person for your suppliers. This could be your venue manager, chief bridesmaid or close family member – somebody that you trust to make last-minute decisions.
- Make sure your wedding timeline is easy to read and understand – try not to go overboard with confusing spreadsheets, dramatic fonts or complicated layouts. You might want to use a wedding timeline creator to ensure your timeline looks clean and professional.
- If any wedding related activities are happening before or after the day (for example, suppliers setting up and packing down, items being delivered to your venue, or ceremony rehearsals), you can slot these into your timeline, too.
- And finally, once you’ve finished your run sheet, sent it across to your suppliers and allocated an emergency contact, it’s time to surrender! Let it go and trust that your day will flow exactly as it should. Don’t panic if your timeline isn’t going exactly to plan on the day – these things happen, and we promise, your guests won’t even notice the difference.
Ready to get started with your wedding day timeline? Our project management platform here at WedSites includes a handy wedding timeline runsheet builder for you to complete and print out before the day. Learn more about our digital wedding planning tools right here, or find more wedding tips, step-by-step guides and free checklists over on our wedding planning blog!