In today’s digital age, creating a wedding website has become an essential part of modern wedding planning. But, where should you start with building a website that is both beautiful to look at and genuinely useful for your loved ones?
From sharing essential information to adding a personal touch with imagery and illustrations, read on for our comprehensive guide to creating a beautiful, functional wedding website below (including some examples from real WedSites couples!).
What is the Purpose of a Wedding Website?
Before we talk about the steps involved in creating the perfect wedding website, let’s explore some of the key reasons why a wedding website is such an essential tool for your special day:
It Creates a Central Information Hub
A wedding website serves as a one-stop-shop where you can effortlessly share all of the information related to your big day. This includes essential details like your wedding date and time, venue location, dress code and much more. Not only does a wedding website streamline the communication process – it also saves you from responding to a myriad of individual questions from your loved ones.
It Helps You Manage RSVPs
Some wedding website platforms (such as WedSites!) are equipped with built-in RSVP features, making it seamless for guests to respond online in the click of a button. This simplifies guest list management and ensures you’ll have an accurate headcount for your wedding.
It’s Convenient For Your Guests
Your guests will genuinely appreciate having easy access to all the information they need for your special day. This is particularly true if you’re hosting a destination wedding, as it will be an invaluable resource to help your loved ones plan and prepare for their trip.
It Creates a Personalized Experience
A wedding website provides an excellent opportunity to showcase your love story, share your engagement photos, and reflect your journey as a couple. It adds an extra layer to your wedding experience, and creates a personal connection between you and your guests leading up to the big day.
It’s Eco-Friendly
Finally, a wedding website presents an eco-friendly alternative to traditional paper invitations and RSVP cards. If you’re taking steps to plan a sustainable wedding, this is definitely an option you’ll want to consider.
So, now you know the many advantages of creating a wedding website – let’s talk about how you can make a great one! A good wedding website should be practical and functional for your guests, while also creating a memorable user experience. With this in mind, here are our top tips for creating a beautiful, useful wedding website:
1. Start Early
Ideally, you should start building your website around 6-9 months prior to your wedding date. This means you can publish it before you send out your save the dates (and gives you a generous amount of time to customize your wedding website design). Remember, you can start with the basics and continue adding details as your wedding plans come together!
2. Choose the Right Website Builder
It’s important to choose the right wedding website builder, as each platform has different features. Take some time to think about the specific features you want and need – whether that’s RSVP management, the ability to customize your design, and how user-friendly it is.
Not sure which platform is right for you? Check out our guide to the top 9 wedding website builders here.
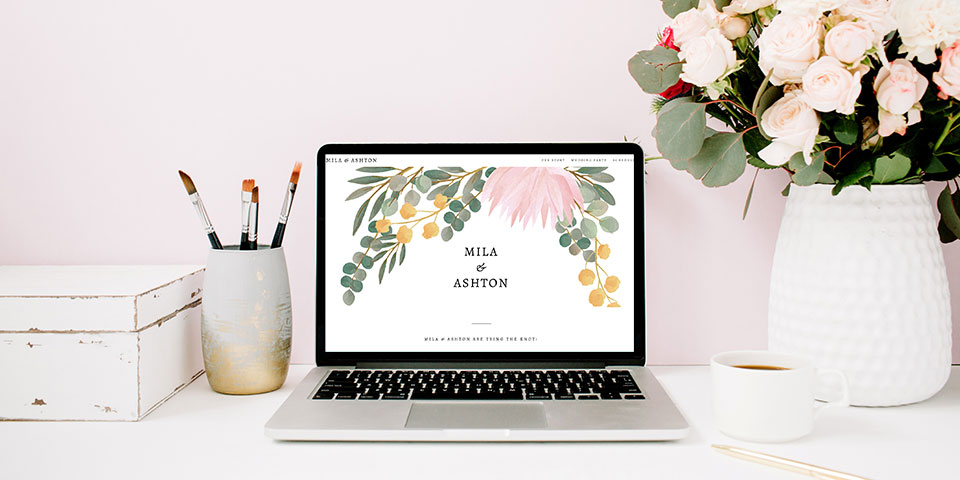
3. Personalize the Look of Your Site
Customization is key to creating a wedding website that reflects your personality and style as a couple! Here at WedSites, our templates can all be personalized with fonts, colors and imagery, so you can create a design that ties in cohesively to your overall wedding vision.
Some of our favorite ways to personalize your wedding website include:
- Showcasing your engagement photos
- Creating a custom color palette that matches your wedding theme
- Uploading digital artworks and illustrations
- Using custom calligraphy fonts as headings
- Adding a playlist of your favorite songs
- Using a custom background image
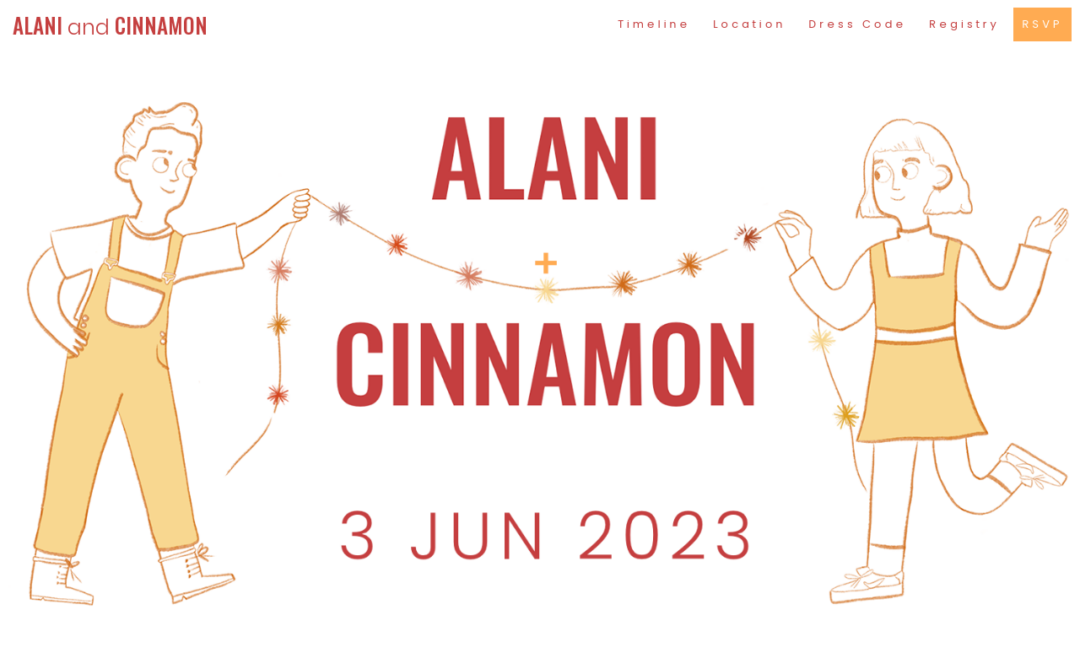
Take a look at how Alani and Cin have customized their wedding website header with a super sweet illustration!
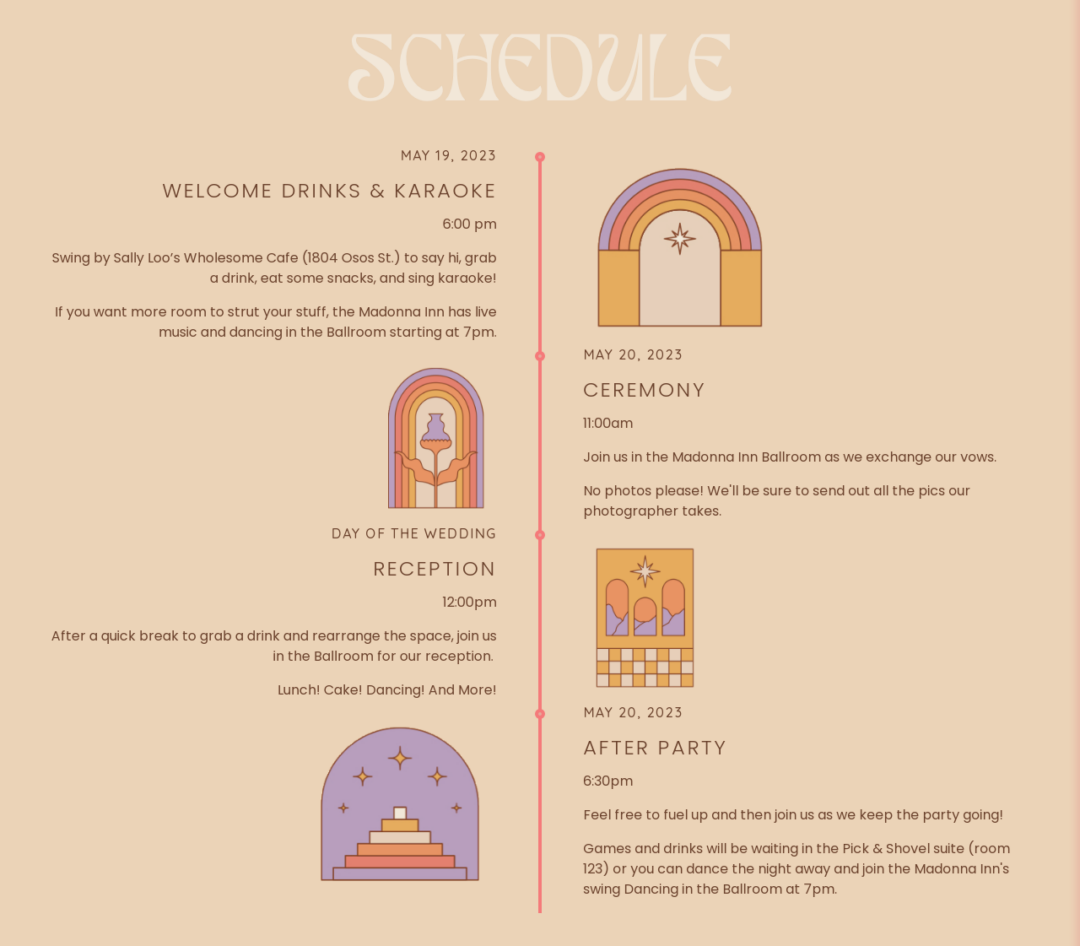
4. Include a Timeline of Events
To guide your guests through the various elements of your wedding day, you’ll want to include a timeline of events on your wedding website. This timeline should provide a clear overview of how your day will run, from ceremony to reception.
Providing a schedule of events will help your guests plan things ahead of time, such as transport. Your schedule of events doesn’t have to be boring – why not include some cute illustrations like Lauren and Shay to add a personal touch?
5. Answer Your Guests’ Questions with a FAQs Page
To make your wedding website as useful as possible, it’s a good idea to anticipate any common questions your guests may have and create a dedicated FAQs page. This can include questions such as:
- Is parking available at the venue?
- What is the dress code?
- Are kids invited?
- Can I bring a plus one?
Not only will a dedicated FAQs page be super helpful for your guests, it will also save you from having to answer these questions over and over again!
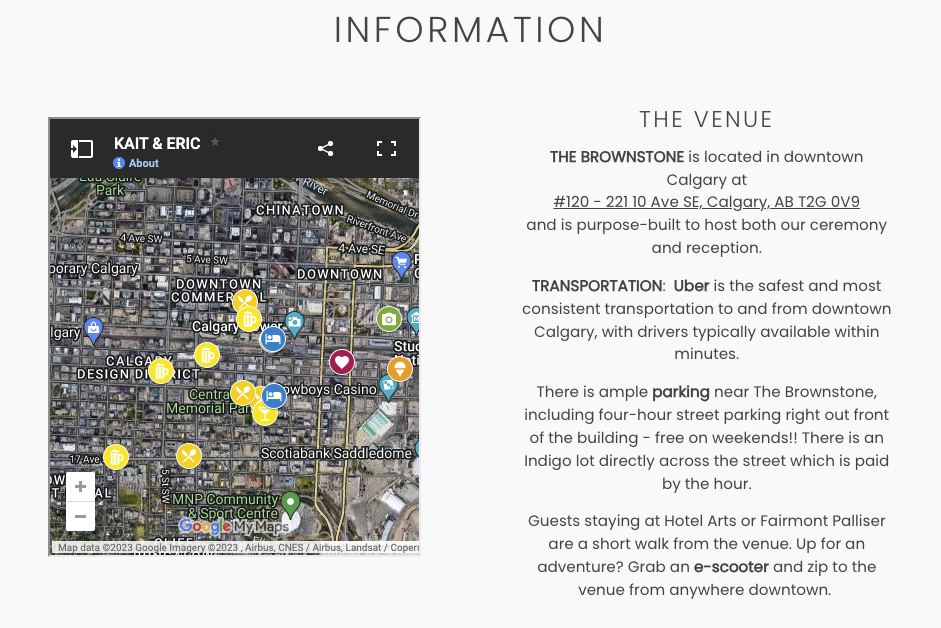
6. Include Travel Tips and Information
If you’re hosting a destination wedding or have guests traveling from afar, go the extra mile by providing them with comprehensive travel information. This should include details such as the nearest airports, the best transport options, and recommended accommodation choices.
We also love the idea of creating a custom Google map that pinpoints your favorite places to eat and things to see and do – just like Kaitlyn and Eric!
7. Add a Photo Gallery
A picture is worth a thousand words, and this is especially true on your wedding website. Personalize your wedding website by including a photo gallery with your favorite snapshots from your journey as a couple. You can also take the opportunity to share some of your engagement photos, too.
Tip: After your wedding, go back and update your website with your wedding photos to share them with your guests!
8. Make It Easy to RSVP
One of the biggest advantages of modern wedding websites is their ability to streamline the RSVP process. Here at WedSites, our platform is equipped with user-friendly RSVP features that allow your guests to respond quickly online. This functionality not only simplifies the process for your guests but also simplifies guest list management for you!
We’d suggest making your RSVP button front and center on your home page so your guests can’t miss it, just like this example from Bianca and Dallas.

9. Customize Your RSVP Form
To further tailor the RSVP experience, make sure you customize your RSVP form. Beyond the standard questions, you can also incorporate additional fields that cater to your specific needs. For example: dietary requirements, meal selections, song requests or whether your guests need a seat on the bus.
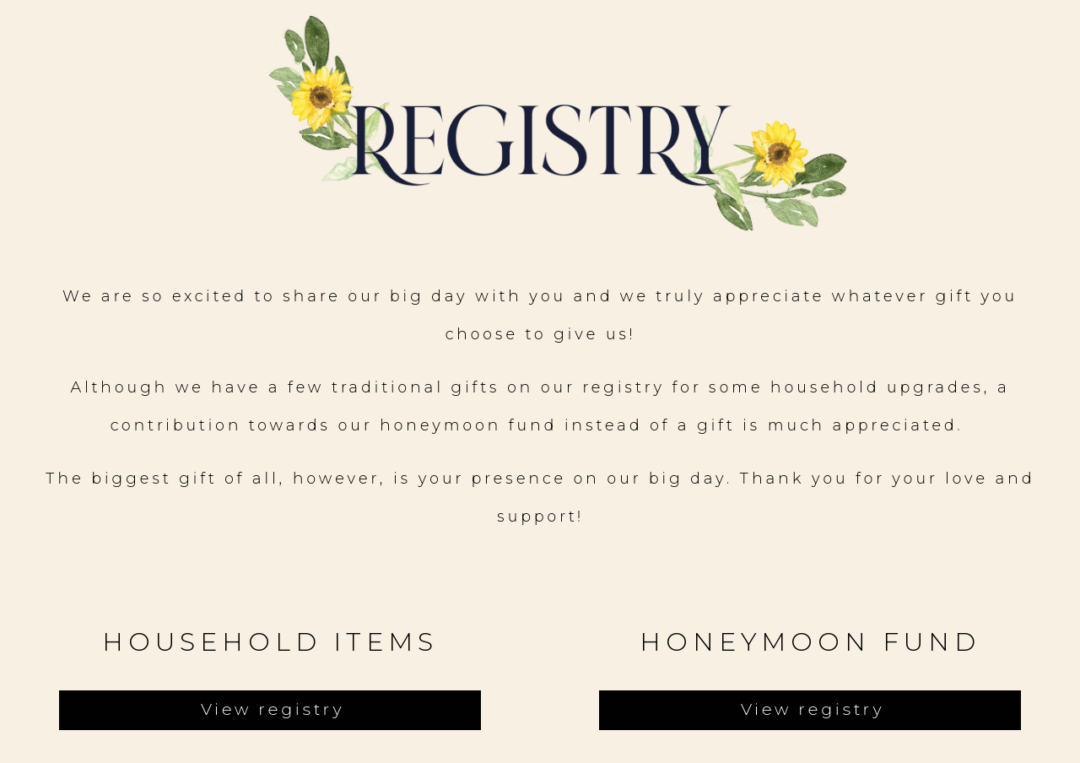
10. Include Registry Details
If you’ve created a gift registry, make it easily accessible to your guests via your wedding website! Keep it short and sweet by including a direct link to your registry to simplify the gift-giving process for your loved ones, just like this example from Janica and Jens.
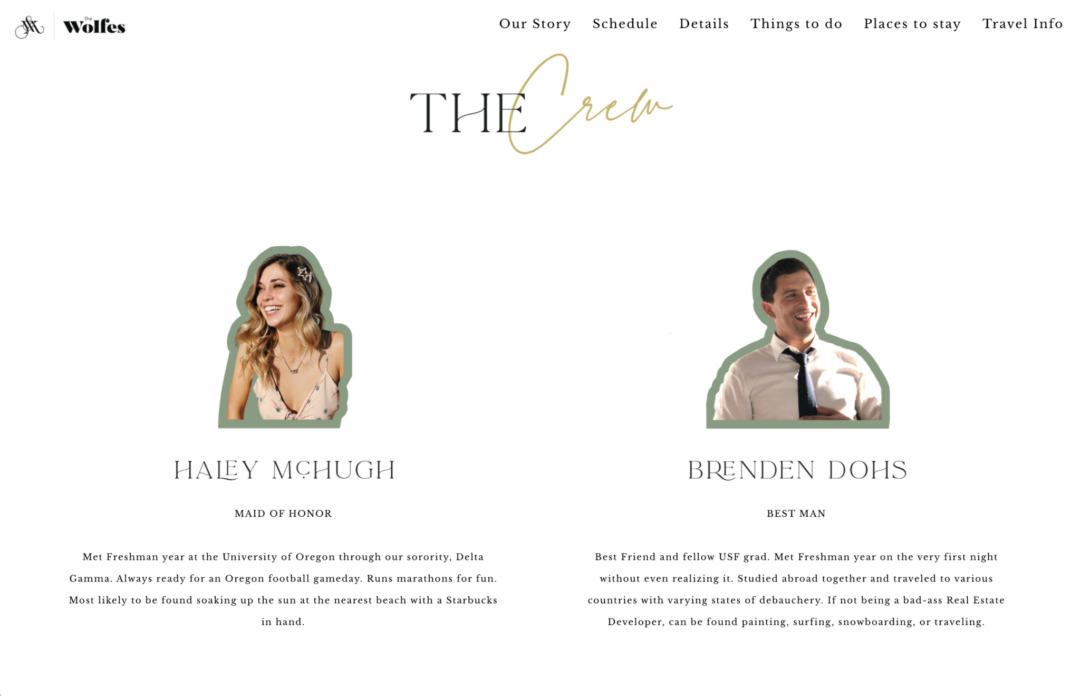
11. Introduce Your Bridal Party
Your bridal party plays an integral role in your wedding, so why not give them a special shout-out on your wedding website? Including personalized bridal party bios is a sweet way to introduce them to your guest list before the big day. Your bios can be heartfelt, funny or a mixture of the two! Take a look at this example by Jessica and Alexander for inspiration.
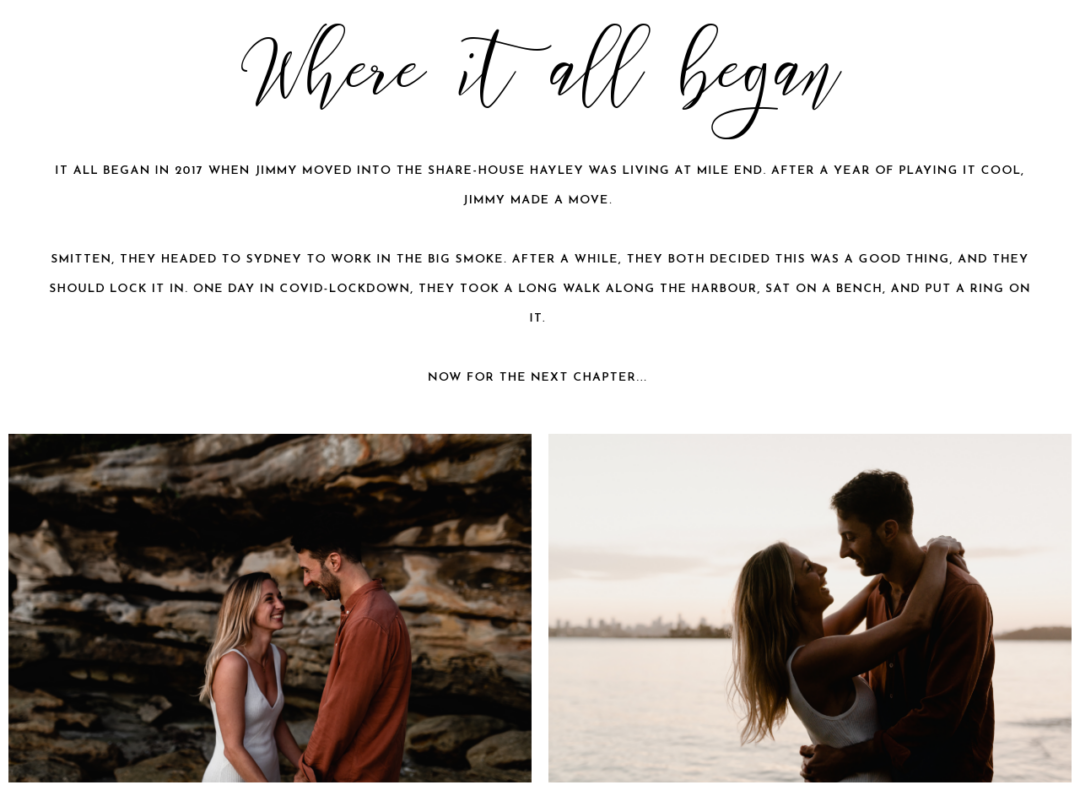
12. Share Your Love Story
Your relationship journey leading up to your wedding is a story worth sharing. Add a personal touch to your wedding website by taking a trip down memory lane and highlighting some of your favorite milestone moments. We love this example by Hayley and Jimmy!
13. Test on a Mobile Device
Many of your guests will be viewing your wedding website on their phones, so it’s critical to make your design mobile-friendly. Here at WedSites, all of our templates have been optimized for mobile, so you can rest assured your guests will be able to navigate your website seamlessly no matter what device they’re using.
14. Share the Link with Your Guests
Once your meticulously crafted wedding website is ready to be unveiled, it’s time to share it with your loved ones. The easiest way to do this is by including the website link in your save-the-dates and invitations. Even better – opt for digital invitations so your guests can click the link and be transported directly there!
15. Keep Your Website Up-to-Date
Finally, don’t forget to keep your website up-to-date as the big day approaches. Whether you need to outline your wet weather plan or make changes to your timeline, an updated wedding website will keep your guests informed and prepared.
Ready to start building your wedding website? Explore our modern range of templates here, or sign up for your free account to get started!