Using digital stationery is a great way to save money (and the planet!) – but did you know it can also help to streamline your wedding planning?
Paperless invitations, online RSVPs, and a custom wedding website can all work together to manage your guest list with ease.
Keep reading for our tips on streamlining your wedding planning using digital stationery, including an inside look at how this works within the WedSites platform!
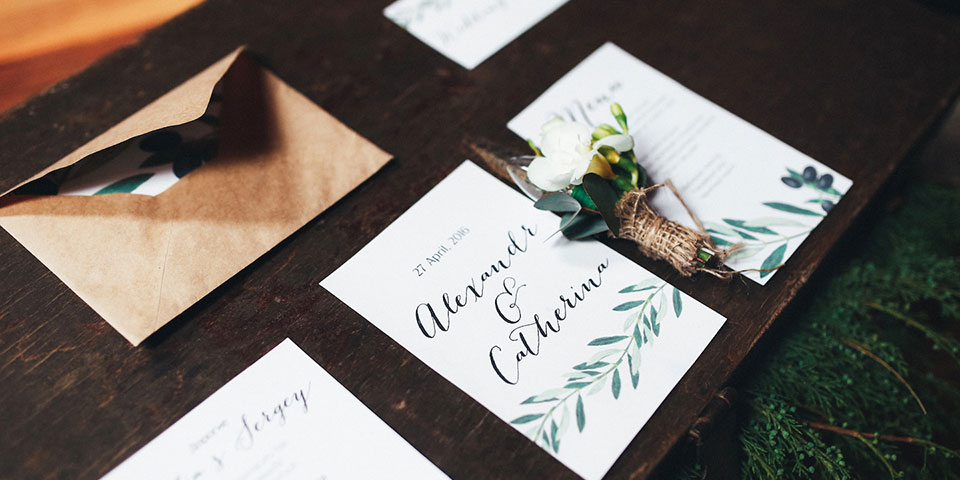
Why Use Digital Stationery For Your Wedding?
Digital stationery has quickly become a popular method for communicating with your wedding guests.
Going paperless with your wedding invitations means you can save money on printing and postage costs – and as a bonus, it’s an easy way to reduce the carbon footprint of your wedding. With a huge variety of modern templates available online, your digital invitations can also be customised to suit the style and theme of your event, creating a cohesive experience for your guests.
Along with being cost-effective and friendly to the planet, digital stationery can actually be used to save time and streamline the entire wedding planning process from start to finish. Here’s how!
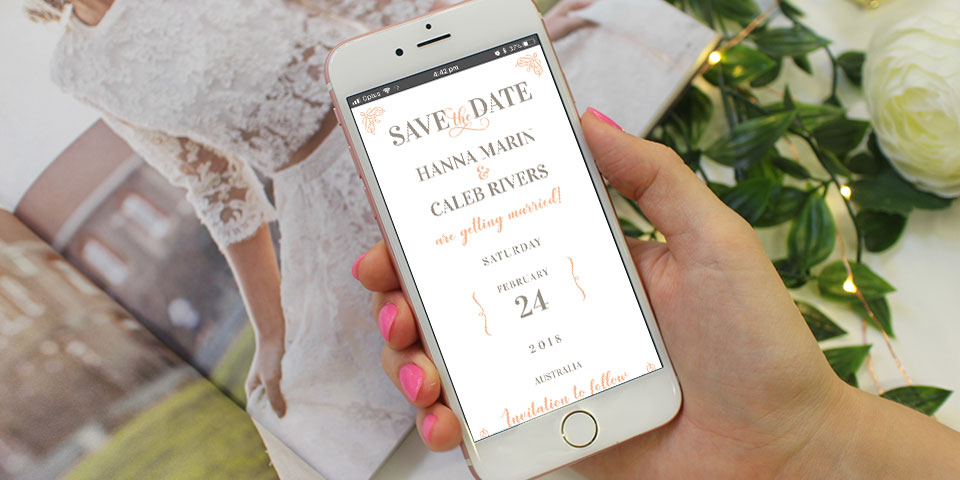
1. Simplify Your Save The Dates
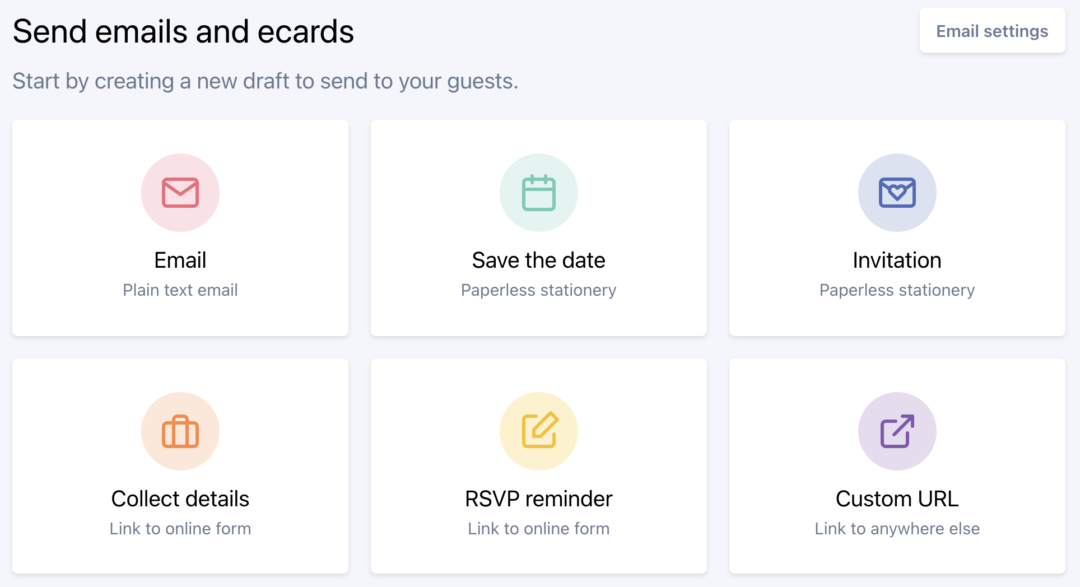
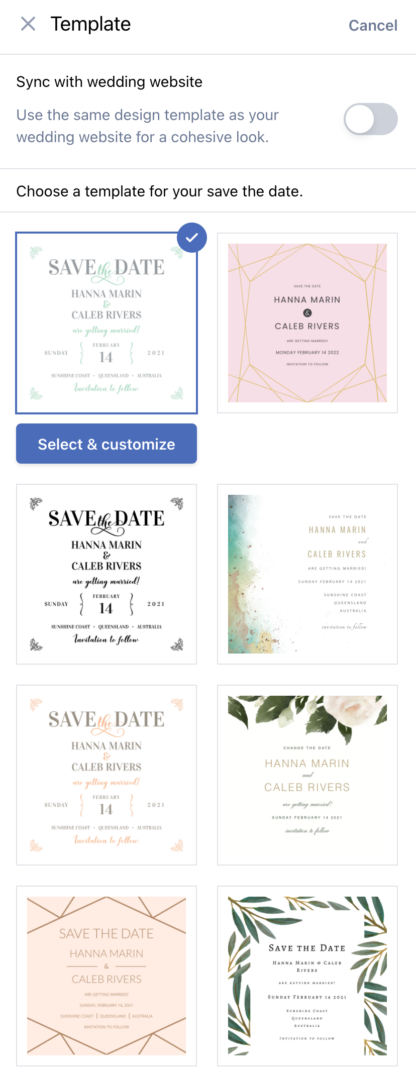
Your Save the Date cards will be the very first touch point with your guests, so you’ll want to make a good first impression! By using digital stationery, you can easily create, customise and send beautiful Save the Date cards to your entire guest list online.
Along with asking guests to reserve your wedding date, you can also take this opportunity to collect their contact information. Here at WedSites, we’ve designed a custom “Contact Details” form to send out with your ecard, allowing guests to input their postal address, email address and phone number.
Once complete, these details will be securely stored in your digital guest list database within the WedSites platform, ready for sending invitations, wedding updates and thank you cards after the day. Learn more about collecting addresses from your wedding guests here!
When it comes to crafting the perfect Save the Date cards, keep these tips in mind:
- Consider your timeline. We’d recommend sending Save the Date cards around 6-8 months before the day, or 9-12 months for a destination wedding.
- Keep it short and sweet. Simply include your names, wedding date, location, and a note that a formal invitation will follow.
- Reflect your wedding theme. Your Save the Date cards should set the tone for your wedding, so choose a template design that matches the vibe of your day. Read our tips for defining your wedding style and vision here!
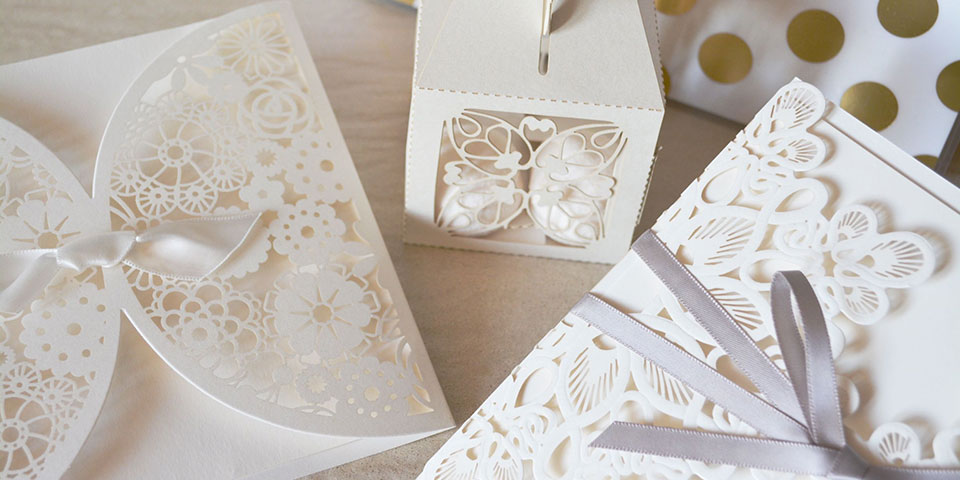
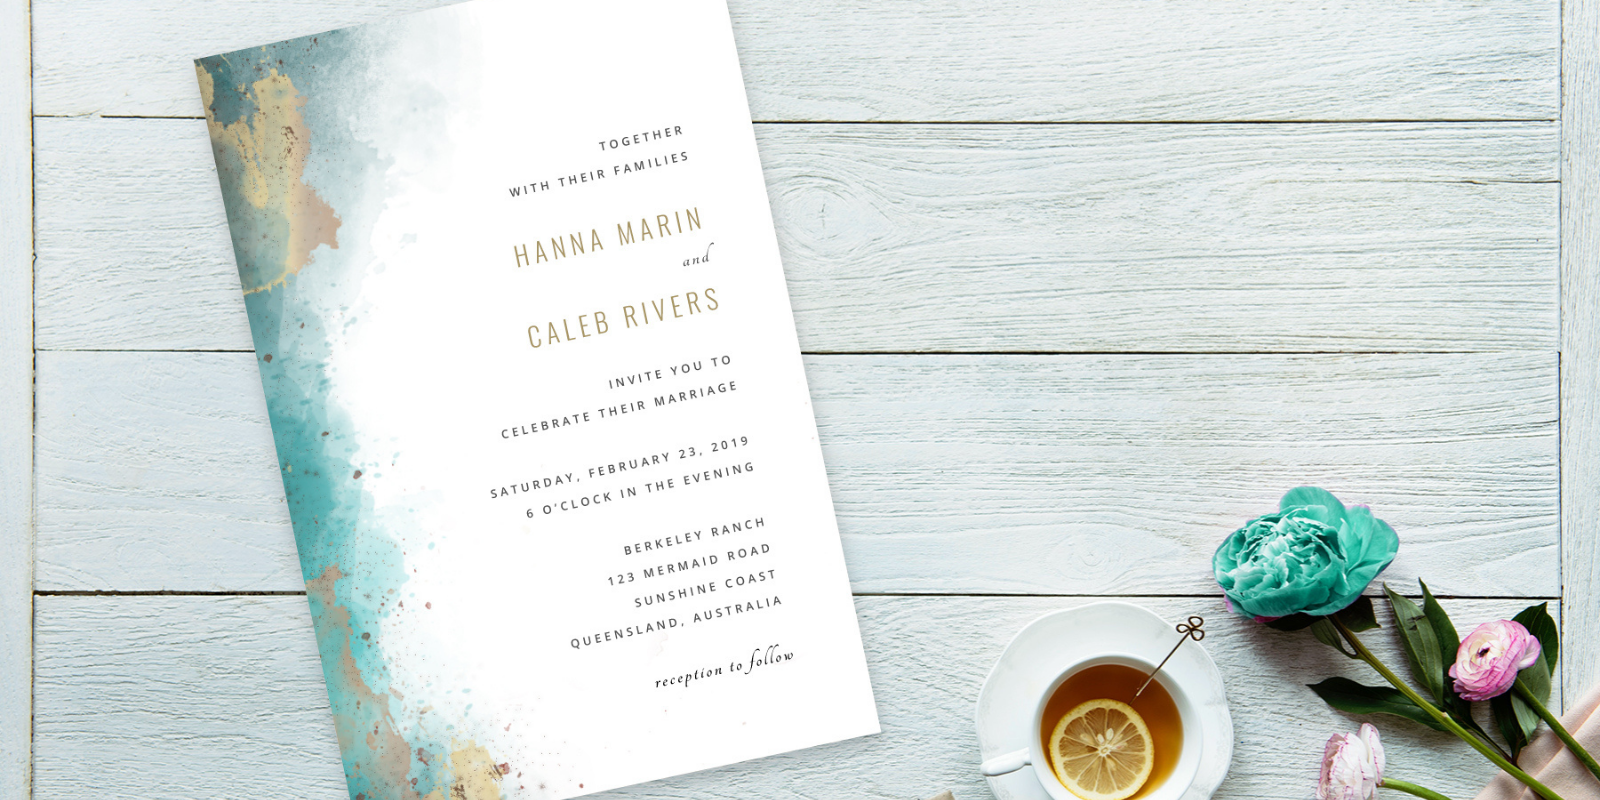
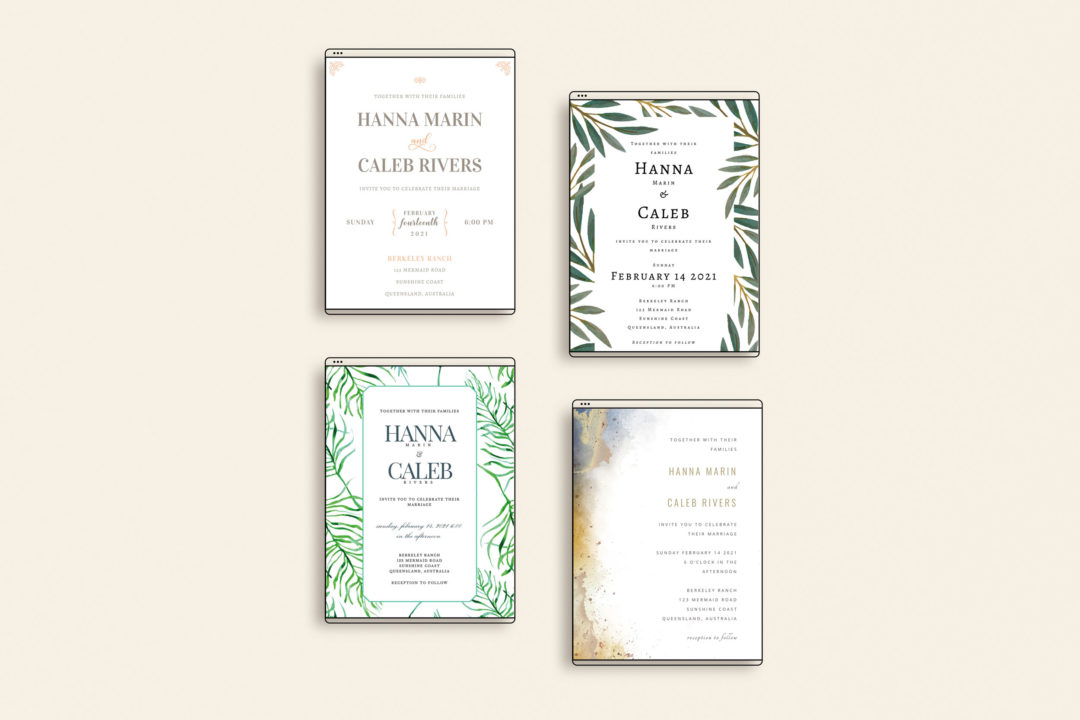
2. Create Beautiful Digital Invitations
Now that your Save the Date cards have been sent, you can move forward with creating digital wedding invitations. Again, the process is super simple – just choose from our range of paperless invitation templates, update the information accordingly, and send out to your entire guest list in the click of a button. You can even personalise your invitations with custom fonts, colours and digital illustrations.
Going digital with your wedding invitations means you don’t need to organise printing, postage or return envelopes. Plus, you can see exactly who has opened their invitation, so you don’t need to worry about them getting lost in the mail!
Design the perfect digital wedding invitations with these tips:
- Keep it cohesive. Ideally, you want all of your stationery elements to work harmoniously together, so consider using a matching stationery suite.
- Don’t go overboard with information. Reserve your wedding invitations for the essential details only, and include a link to your wedding website for more.
- Consider your wording. If you’re planning a black-tie wedding, you’ll want to use formal wording – but if you’re planning a backyard elopement, you can keep things casual. Read our wedding invitation wording guide with examples here.
- Give yourself enough time. We’d recommend sending your digital invitations around 2-3 months before the day, or 6 months for a destination wedding.
3. Collect Stress-Free RSVPs Online
It’s no secret that getting RSVPs back from your guests can be one of the most painful elements of planning a wedding! Opting for online RSVPs will make this process much faster, while also keeping your sanity in check.
Getting your guests to RSVP online is easy. First, you’ll need to set up an RSVP form on your wedding website. You can customise this form to include questions about dietary requirements, meal selections, or reserving a seat on the bus. You may even want to include some fun questions like dance floor requests or marriage advice!
Once this is complete, simply include the RSVP link on your digital invitations. Guests will be able to RSVP in just a few clicks, and their information will be automatically updated in your digital guest list database. This means you can easily see at a glance who’s responded, who’s declined, and who you’re still waiting to hear back from. Our online RSVP system only allows the people on your guest list to respond, so you don’t need to worry about unwanted plus ones.
The best part? You can set automatic reminders to follow up with any last-minute stragglers on your behalf.
4. Answer FAQs With a Wedding Website
Answering questions from your wedding guests can be seriously time-consuming, especially if you’re answering the same questions over and over again!
Instead of fielding hundreds of messages and phone calls, simply address all of these FAQs on your wedding website. Your wedding website will become a central hub of information for your wedding guests, so it should include all of the details they’ll need for the big day.
We’d suggest creating a detailed FAQs page that answers the following questions:
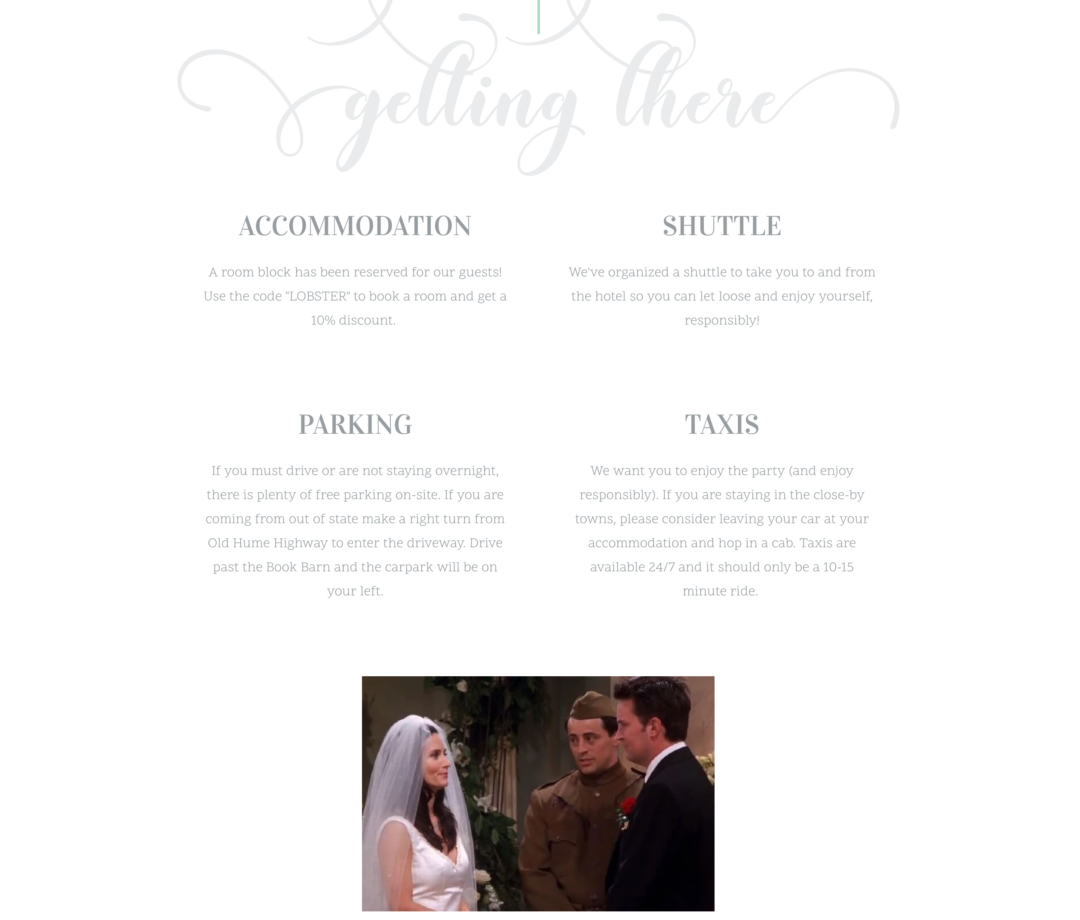
- What’s the best way of getting to and from the venue?
- Is there parking available at the venue?
- Are there any accommodation options nearby?
- Is there a dress code?
- Do you have a gift registry?
- Are kids welcome?
If you’re planning a destination wedding, you’ll also want to include some information about where to stay and what to do in the local area. Check out our top 15 questions to answer in your wedding website FAQ here.
5. Send Last Minute Group Updates
As your wedding day approaches, you may need to share some final updates with your guests. For example: the confirmed bus schedule, timeline changes, or a wet weather Plan B.
Rather than contacting each guest individually, you can save time by sending group updates directly through the WedSites platform. You can craft custom emails, upload images, and get last-minute messages out to your entire guest list.
6. Prepare and Print Your Wedding Day Details
Using a digital guest list database means you have all of the wedding day details at your fingertips! Within the WedSites platform, you can easily print out your confirmed guest list, dietary requirements and seating plan, so you can pass this on to your catering team, venue and coordinator.
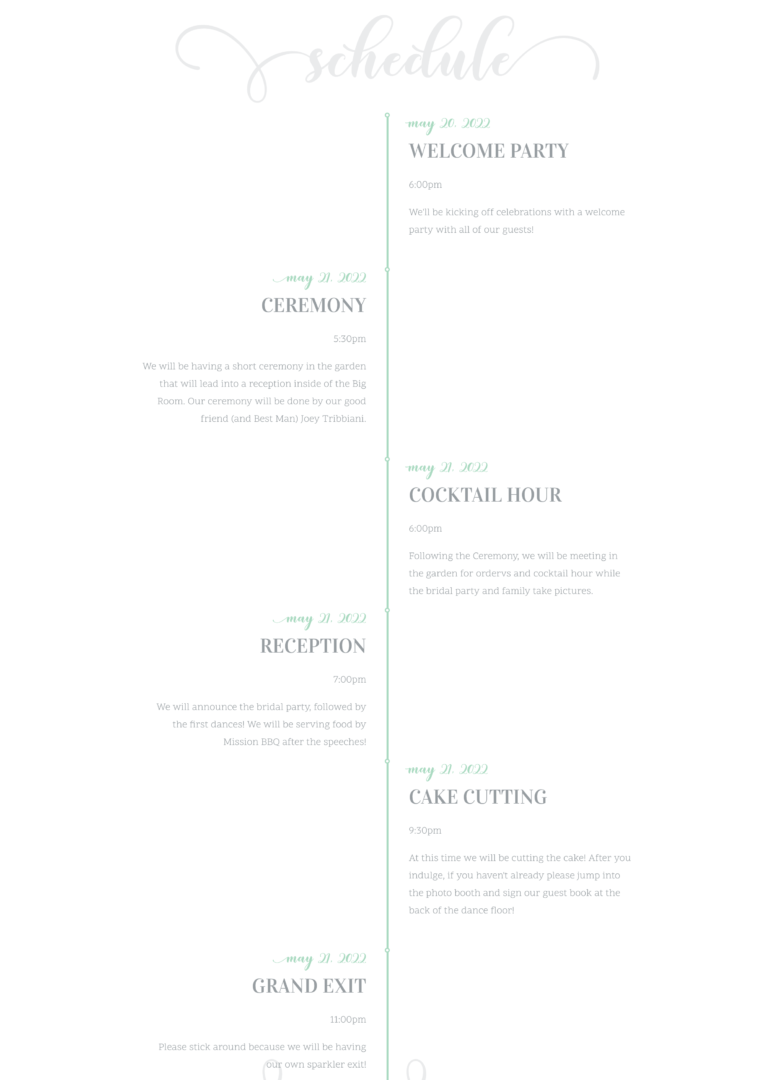
Speaking of seating charts, you can use our digital seating chart tool here at WedSites to design the perfect floor plan. With a handy drag and drop function, you can easily play around with your seating chart until you find the perfect layout. We also have a helpful timeline builder to help you create and print your wedding day runsheet. Read our guide to creating your wedding day timeline here!
Go Digital With WedSites!
Going digital for your wedding can save you stacks of time and money, while also creating a seamless wedding experience for your guests! Our modern range of digital stationery and wedding website templates can be totally customised to suit your wedding theme, with a helpful suite of wedding planning tools to simplify the process.
Ready to get started? Create your free account with WedSites right here, or check out these 10 beautiful wedding website examples to inspire you.