Wedding planning is an exciting journey, but it can also be a lot of hard work! To help you save time and reduce stress, it’s a good idea to create a wedding website filled with useful information for your guests.
So, what’s involved in building a wedding website, and how do you make a great one? From choosing the right template to managing your guests, keep reading as we explain exactly how to build a beautiful, practical wedding website in just 6 simple steps.
Why Build a Wedding Website?
First, let’s explore some of the reasons why you might decide to build a wedding website for your special day. Creating a wedding website definitely isn’t essential, but we’d say it’s a very wise decision!
Think of your wedding website as the ultimate online resource for your guests. It’s almost guaranteed that your loved ones will have questions about your wedding – from timelines and dress codes to accommodation and gift registries. You can use your wedding website to share all of this relevant information, answer common questions and track RSVPs in one central place.
Along with the practical stuff, creating a wedding website is also a fun way to build excitement for your wedding! You can include your favourite photos, share your love story and add personal touches to set the tone for your celebration.
Simply put, creating a wedding website will not only streamline your wedding planning process (saving you a bunch of time and stress), but also help your guests make the most out of their experience, too.
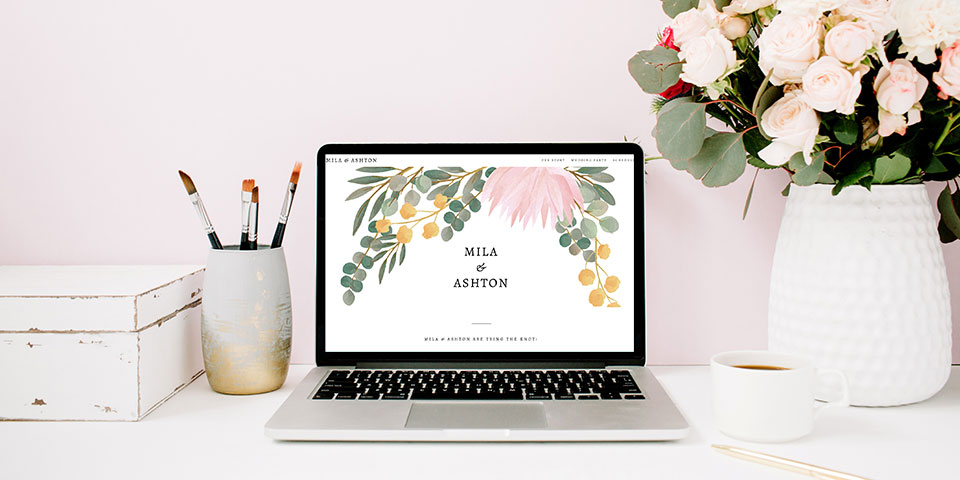
1. Choose a Wedding Website Builder and Template
So now you know why to create a wedding website, let’s talk about the how!
The first step towards building a wedding website will be deciding which platform you’d like to use. To start creating your wedding website, you can either:
- Use a wedding website builder with pre-made templates (like WedSites!)
- Build it from scratch using a platform like Squarespace or Wix
- Hire a website designer to do it for you
The quickest, easiest way to create a wedding website is undoubtedly by using a wedding website builder. Not only will this help you save time, it also means you can take advantage of built-in features such as RSVP tracking and guest list management.
There are several different wedding website builders to choose from, each with their own unique features, templates and price points. We’d recommend making a list of must-have features and using that to weigh up your options.
Some features to look out for would be:
- A wide variety of templates
- The ability to customise your template with colours, fonts, photos and videos.
- Online RSVP tracking and guest list management
- Built-in wedding planning tools
- Matching paperless stationery
- Online support
- Password protection
- The ability to choose your own domain
- Easy to use
You can check out the 9 best wedding website builders here where we weigh up the pros and cons for you!
Once you’ve chosen a platform, you’ll then need to select a template. It’s a good idea to choose a template that reflects the vision you have in mind for your wedding day. Is your vision modern and minimal? Fresh and floral? Or moody and elegant? Keep in mind, our templates here at WedSites can be totally customised to suit your requirements.
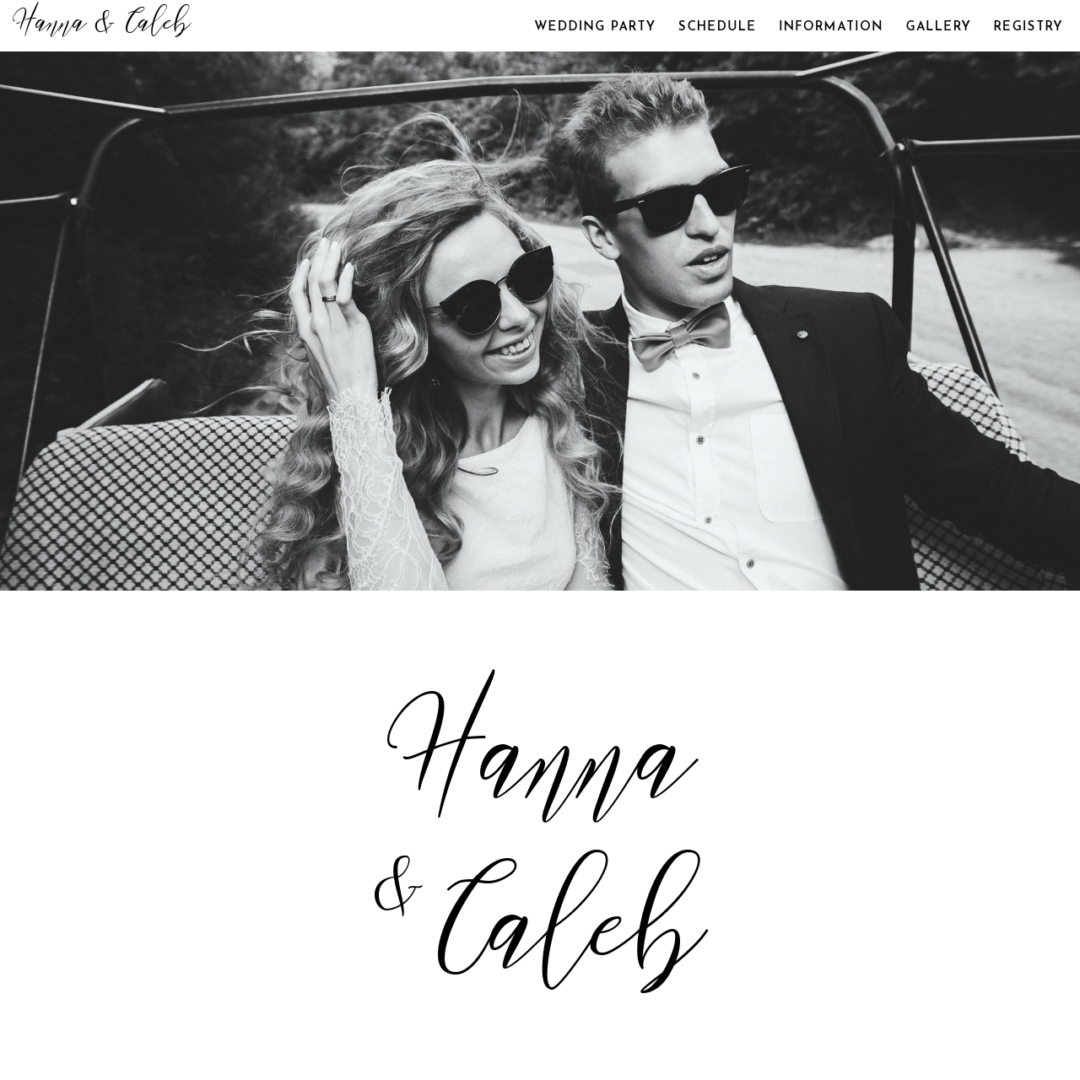
2. Fill Out Your Wedding Website Sections
The next step will be deciding what to include on your wedding website to make it useful and practical for your guests.
At the most basic level, your wedding website needs to include:
- The names of you and your partner
- The wedding date, time and location
- The RSVP date and method
Remember though, you want your wedding website to be a helpful online resource for your guests (so you don’t have to answer hundreds of questions!). With this in mind, think about all of the extra details your loved ones might need to help them prepare for your wedding day.
This could include:
- Dress code
- Transport information
- Venue directions
- Local accommodation options
- Schedule of events
- Gift registry
- FAQs
- Wedding hashtag
- Live stream
You can read our comprehensive guide on how to fill out your wedding website sections here, along with 15 questions to answer in your wedding website FAQs.
Tip: Make it easy and intuitive for your guests to find relevant information by creating separate tabs on your wedding website. For example: “Itinerary”, “Location” and “FAQs”.
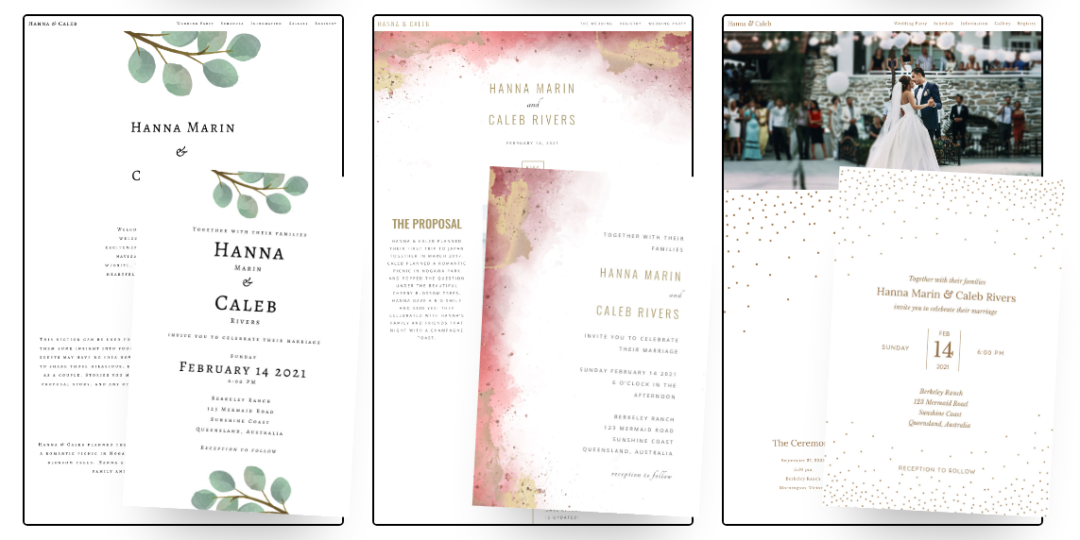
3. Customise Your Wedding Website With Personal Touches
Now that the practical details are out of the way, it’s time for the fun part – customising your wedding website and adding personal touches to make it 100% unique.
Your wedding website should reflect your personalities and get your loved ones excited about your special day.
Some of our favourite ways to personalise your wedding website are:
- Including images of you and your partner
- Using a custom colour palette that matches your wedding day vision
- Uploading custom fonts to create eye-catching headings
- Incorporating digital illustrations and custom artworks
- Creating a custom logo or motif for your wedding
- Including a link to your reception playlist
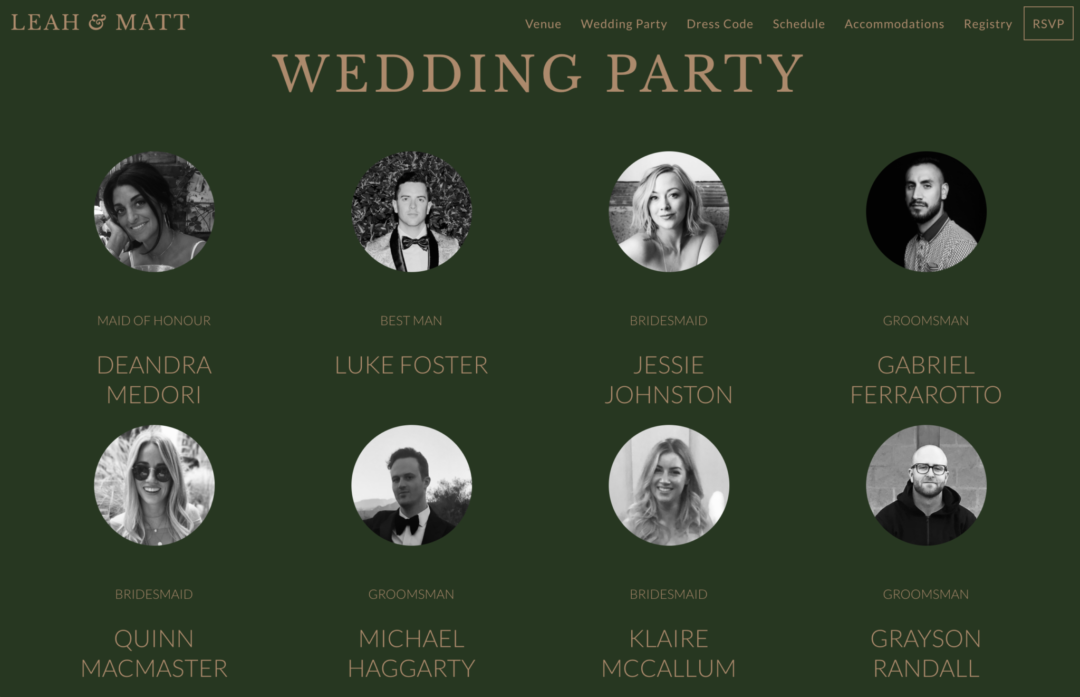
- Introducing your bridal party with a short and sweet bio for each person
- Sharing your love story or fun facts about your relationship
You can check out 10 beautiful wedding website examples here to see exactly how this can be done!
Keep in mind that some wedding website builders don’t allow for much customisation, so you’ll need to check this first. Here at WedSites, our templates are 100% customisable with a handy drag and drop website builder. From the colour scheme to the menu button, all of our elements can be personalised to match your vision!
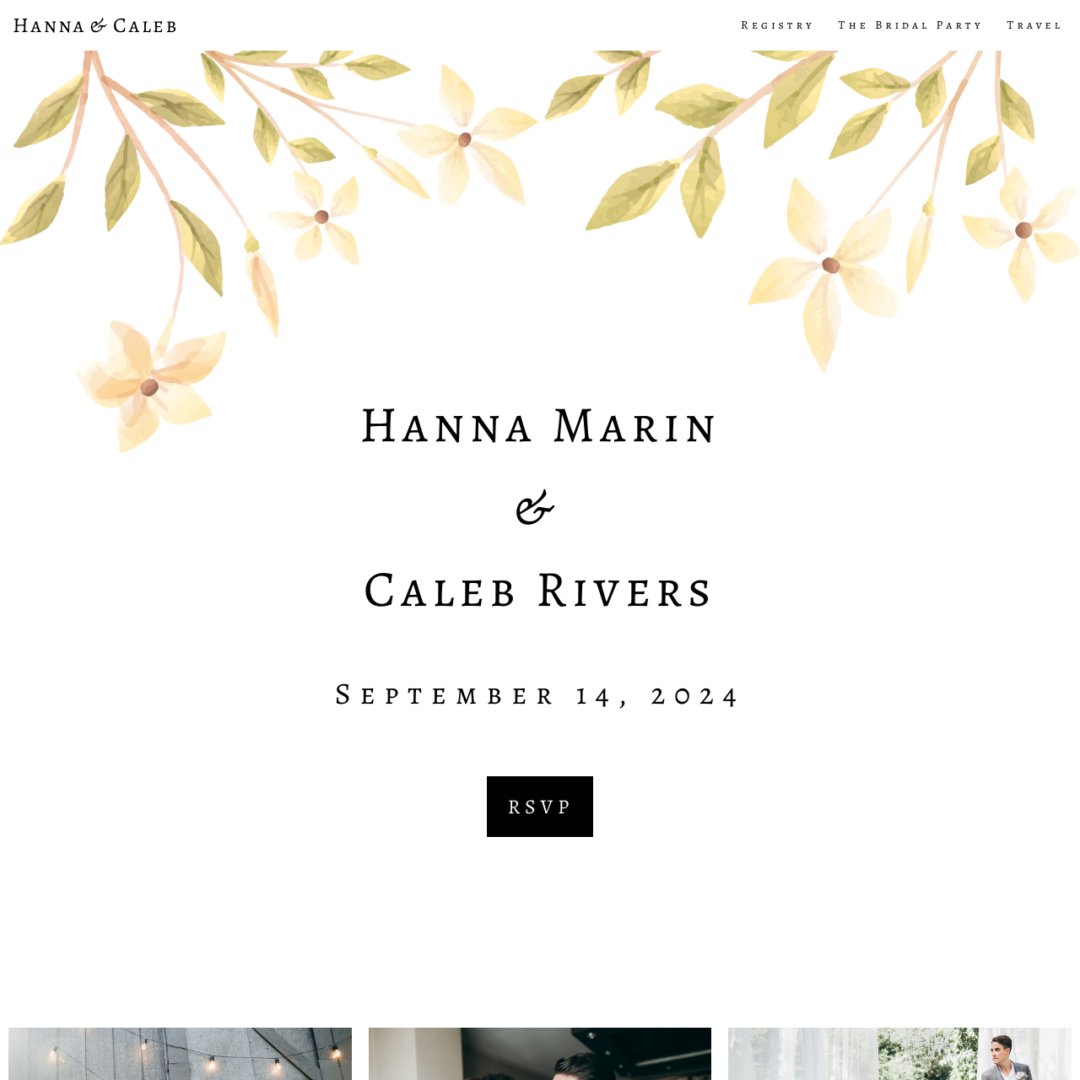
4. Setup Online RSVPs and Guest List Management
Including an RSVP form on your wedding website means your loved ones can quickly confirm their attendance on the day, and you can easily track their responses.
Along with finalising your headcount, you can also customise your RSVP questions to gather any extra details you may need from your guests before the wedding.
For example:
- Number of people attending
- Meal selections
- Dietary restrictions
- Whether they need a seat on the bus
- Song requests for the dance floor
Here at WedSites, your RSVP responses will automatically be updated in your guest list database, so you can quickly see at a glance who’s attending, who’s declined and who has yet to respond. You can also invite specific guests to RSVP to any other wedding-related events, such as your rehearsal dinner, bridal shower or recovery party. Read our guide on how to manage your guest list with WedSites here.
5. Choose a Password and URL
If privacy is important to you, you may want to protect your wedding website with a custom password. We’d suggest choosing a simple password that will be easy for guests to remember, like your wedding date or venue name.
You’ll also need to confirm your wedding website domain. Depending on your wedding website builder, you may be able to personalise your website with a custom URL. Again, you’ll want to choose something relatively short, easy to remember, and relevant to your wedding.
For example:
(Name)and(Name)
TheFuture(Surname)s
The(Surname)Wedding
(Name)loves(Name)
If you’ve created a custom hashtag for your wedding, you can use this as your website URL, too!
6. Share Your Wedding Website With Guests
Now that your wedding website is complete, it’s time to get the word out to your guests!
The best way to share your wedding website is simply by including a link on your wedding invitations. Your guests can either click the link (if you’re using digital invitations), or type it into their browser (if you’re using paper invitations). Don’t forget to include your password, too.
Before sending it out into the world, take a moment to proofread your wedding website, make sure all of your links and buttons are working, and check that you’ve included all of the essential details for your guests. You can find our guide on how to share your wedding website with your guests here.
Voilà, that’s it! You can now sit back, relax and watch those RSVPs roll in while you enjoy the lead-up to your special day.
Build Your Dream Wedding Website Today
Ready to design your own wedding website? Our wedding website builder includes a suite of intuitive tools such as RSVP tracking, guest list management and a digital wedding planner. Explore our range of customisable templates here, or create your free account to get started!